Robotics
Robotic Hoverboard Hack
Goal – to build an automated robotic weeder for dandelions. This project will use used hoverboard motors and a delta robotic arm and use a Nvidia Nano for the intelligence. This project consists of several AI modules including a) self driving AI and b) vision system for the delta robot arm.
Robotic Arms
- SCARA – in process
- Delta
- 6DOF
- Cable
SCARA Robotic Arm
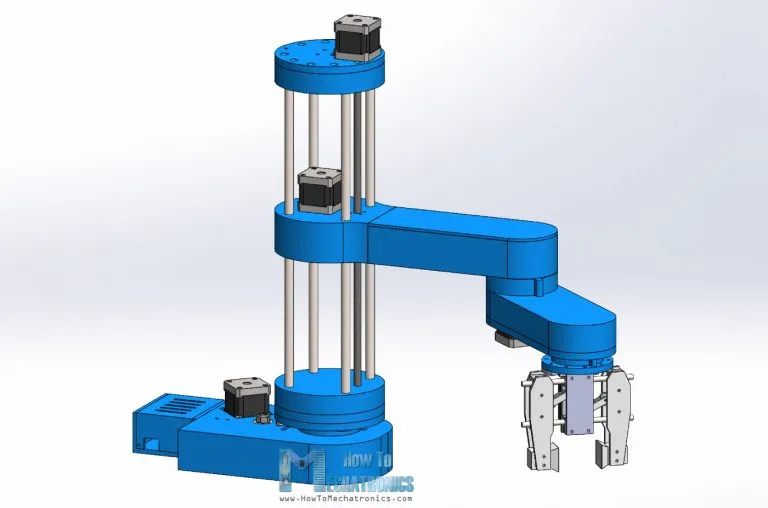 |
SCARA robotic arm
This project is to replicate an open source SCARA robotic arm. One of the modifications was to 3D print the arm in carbon fiber. source: howtomechatronics.com/projects/scara-robot-how-to-build-your-own-arduino-based-robot/ |
Robotics – Hoverboard Hack
The hoverboards are really interesting as they have really powerful motors. The motors are often the thing that does not fail in the hoverboard, but instead it is the circuit board or the battery pack. The other really interesting thing about the hoverboard motors is that the tire is the “motor”.
This is a learning exercise for me, as I’ve never done this kind of work before – but its a good journey to learn about electronics and some autonomous AI approaches. This project is in partnership with a friend who knows a lot about the electronics component.
Step 1 – Disassemble the Hoverboard
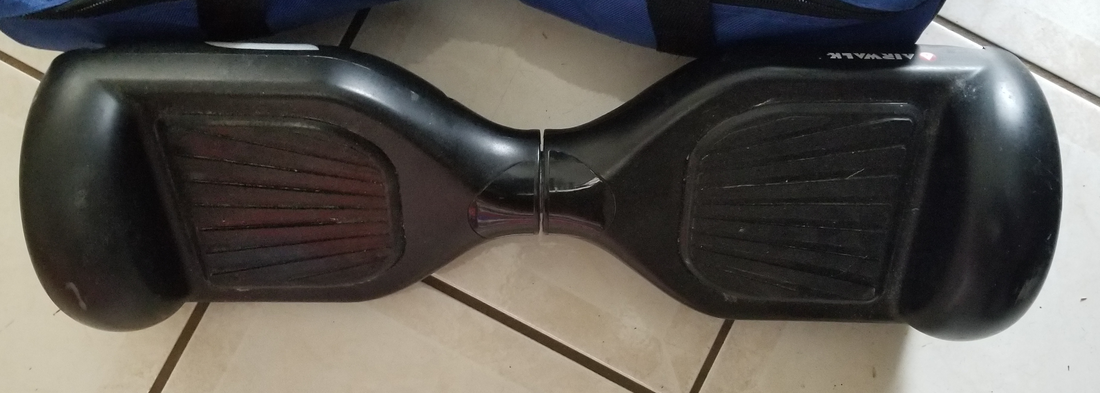  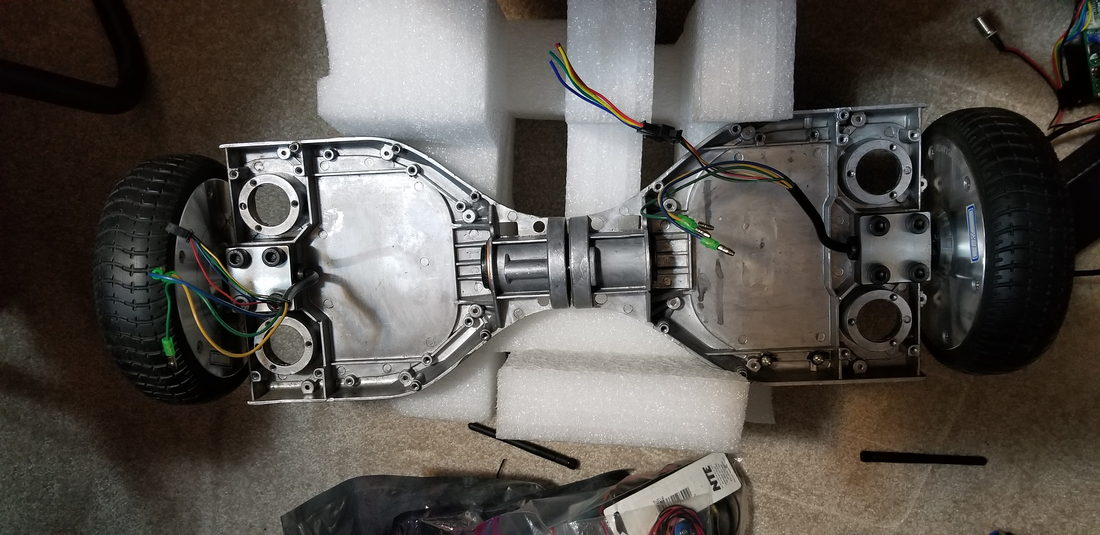 |
Once you open up the hoverboard, remove all the electronics so that you are down to the bare bones – only the wheels and the wires attached to the wheels.
If the hoverboard wasn’t working when you received it, look at the circuit board and you can probably see a burnt section. We are only going to work with 1 hoverboard (wheels 1 and 2) and add the 2nd hoverboard later (wheels 3 and 4). |
Step 2 – Get the Wheels working
|
|
We now have Wheel 1 working. Its being controlled through the Arduino with the RioRand and just goes from 0 to 100 speed and then back again.
Note: make sure you have the hoverboard wheels above the ground and secured tightly… otherwise the wheel is going to take off and ruin your day. GitHub Code: coming soon. |
Step 3 – Add some Arduino components
Appendix – Hoverboard Parts
- 2 broken hoverboards
- 1 Arduino Mega R3 Board
- 4 RioRand 400W 6-60V PWM DC Brushless Motor Speed Controller with Hall
Shop Equipment
- Soldering Iron (i.e. Hakko FX888D-23BY Digital Soldering Station FX-888D FX-888 – you will also need to get a pointy tip like a Hakko T18-B Conical Soldering Tip)
- DC Bench Power Supply (i.e. DC Bench Power Supply Variable 4-Digital LED Display 60V /5A , High Precision Adjustable Regulated Switching Power Supply Digital with Alligator Leads). You could also just use the Hoverboard battery